Tecnica di pittura a olio di colore morto.
Dead Color Technique.
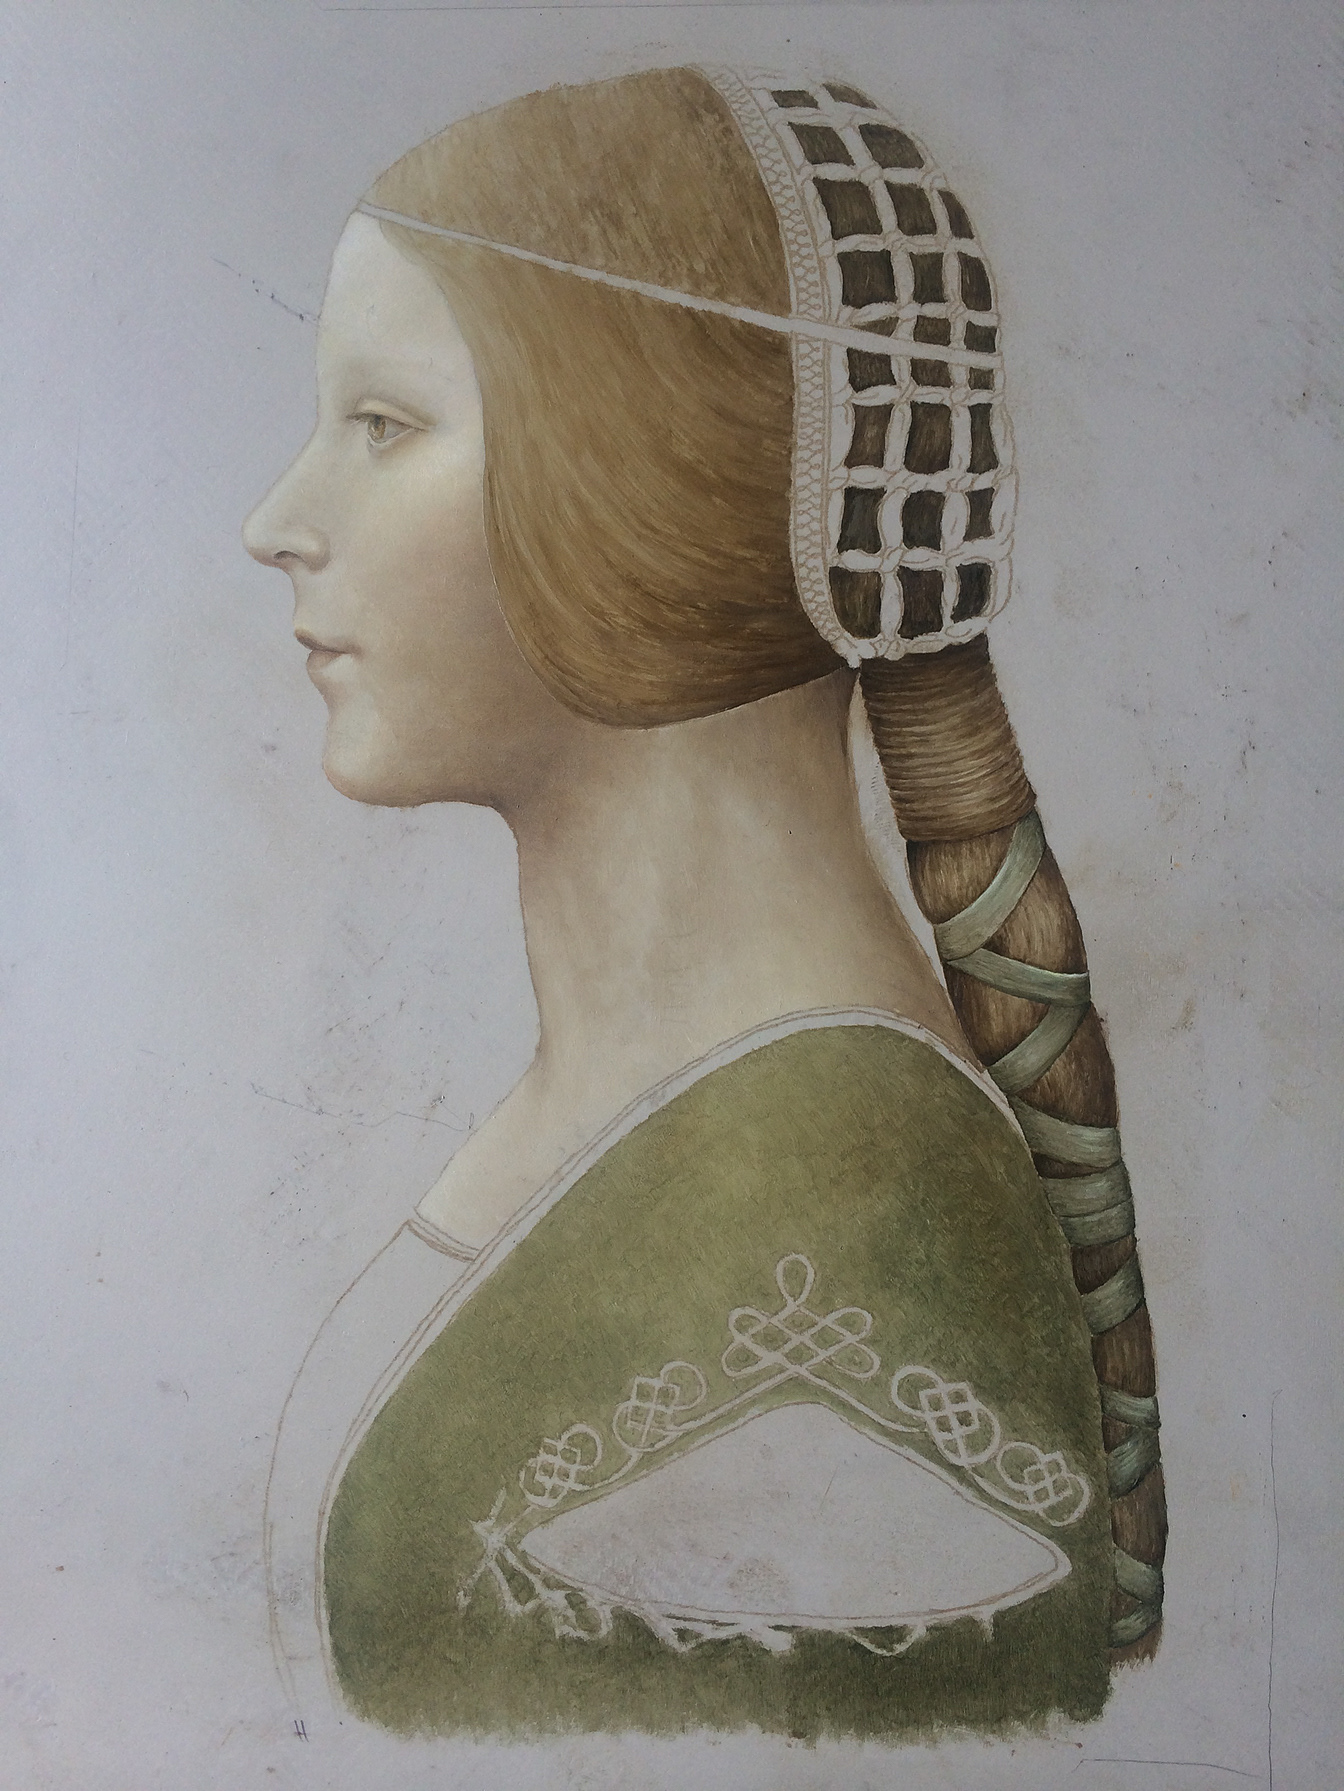
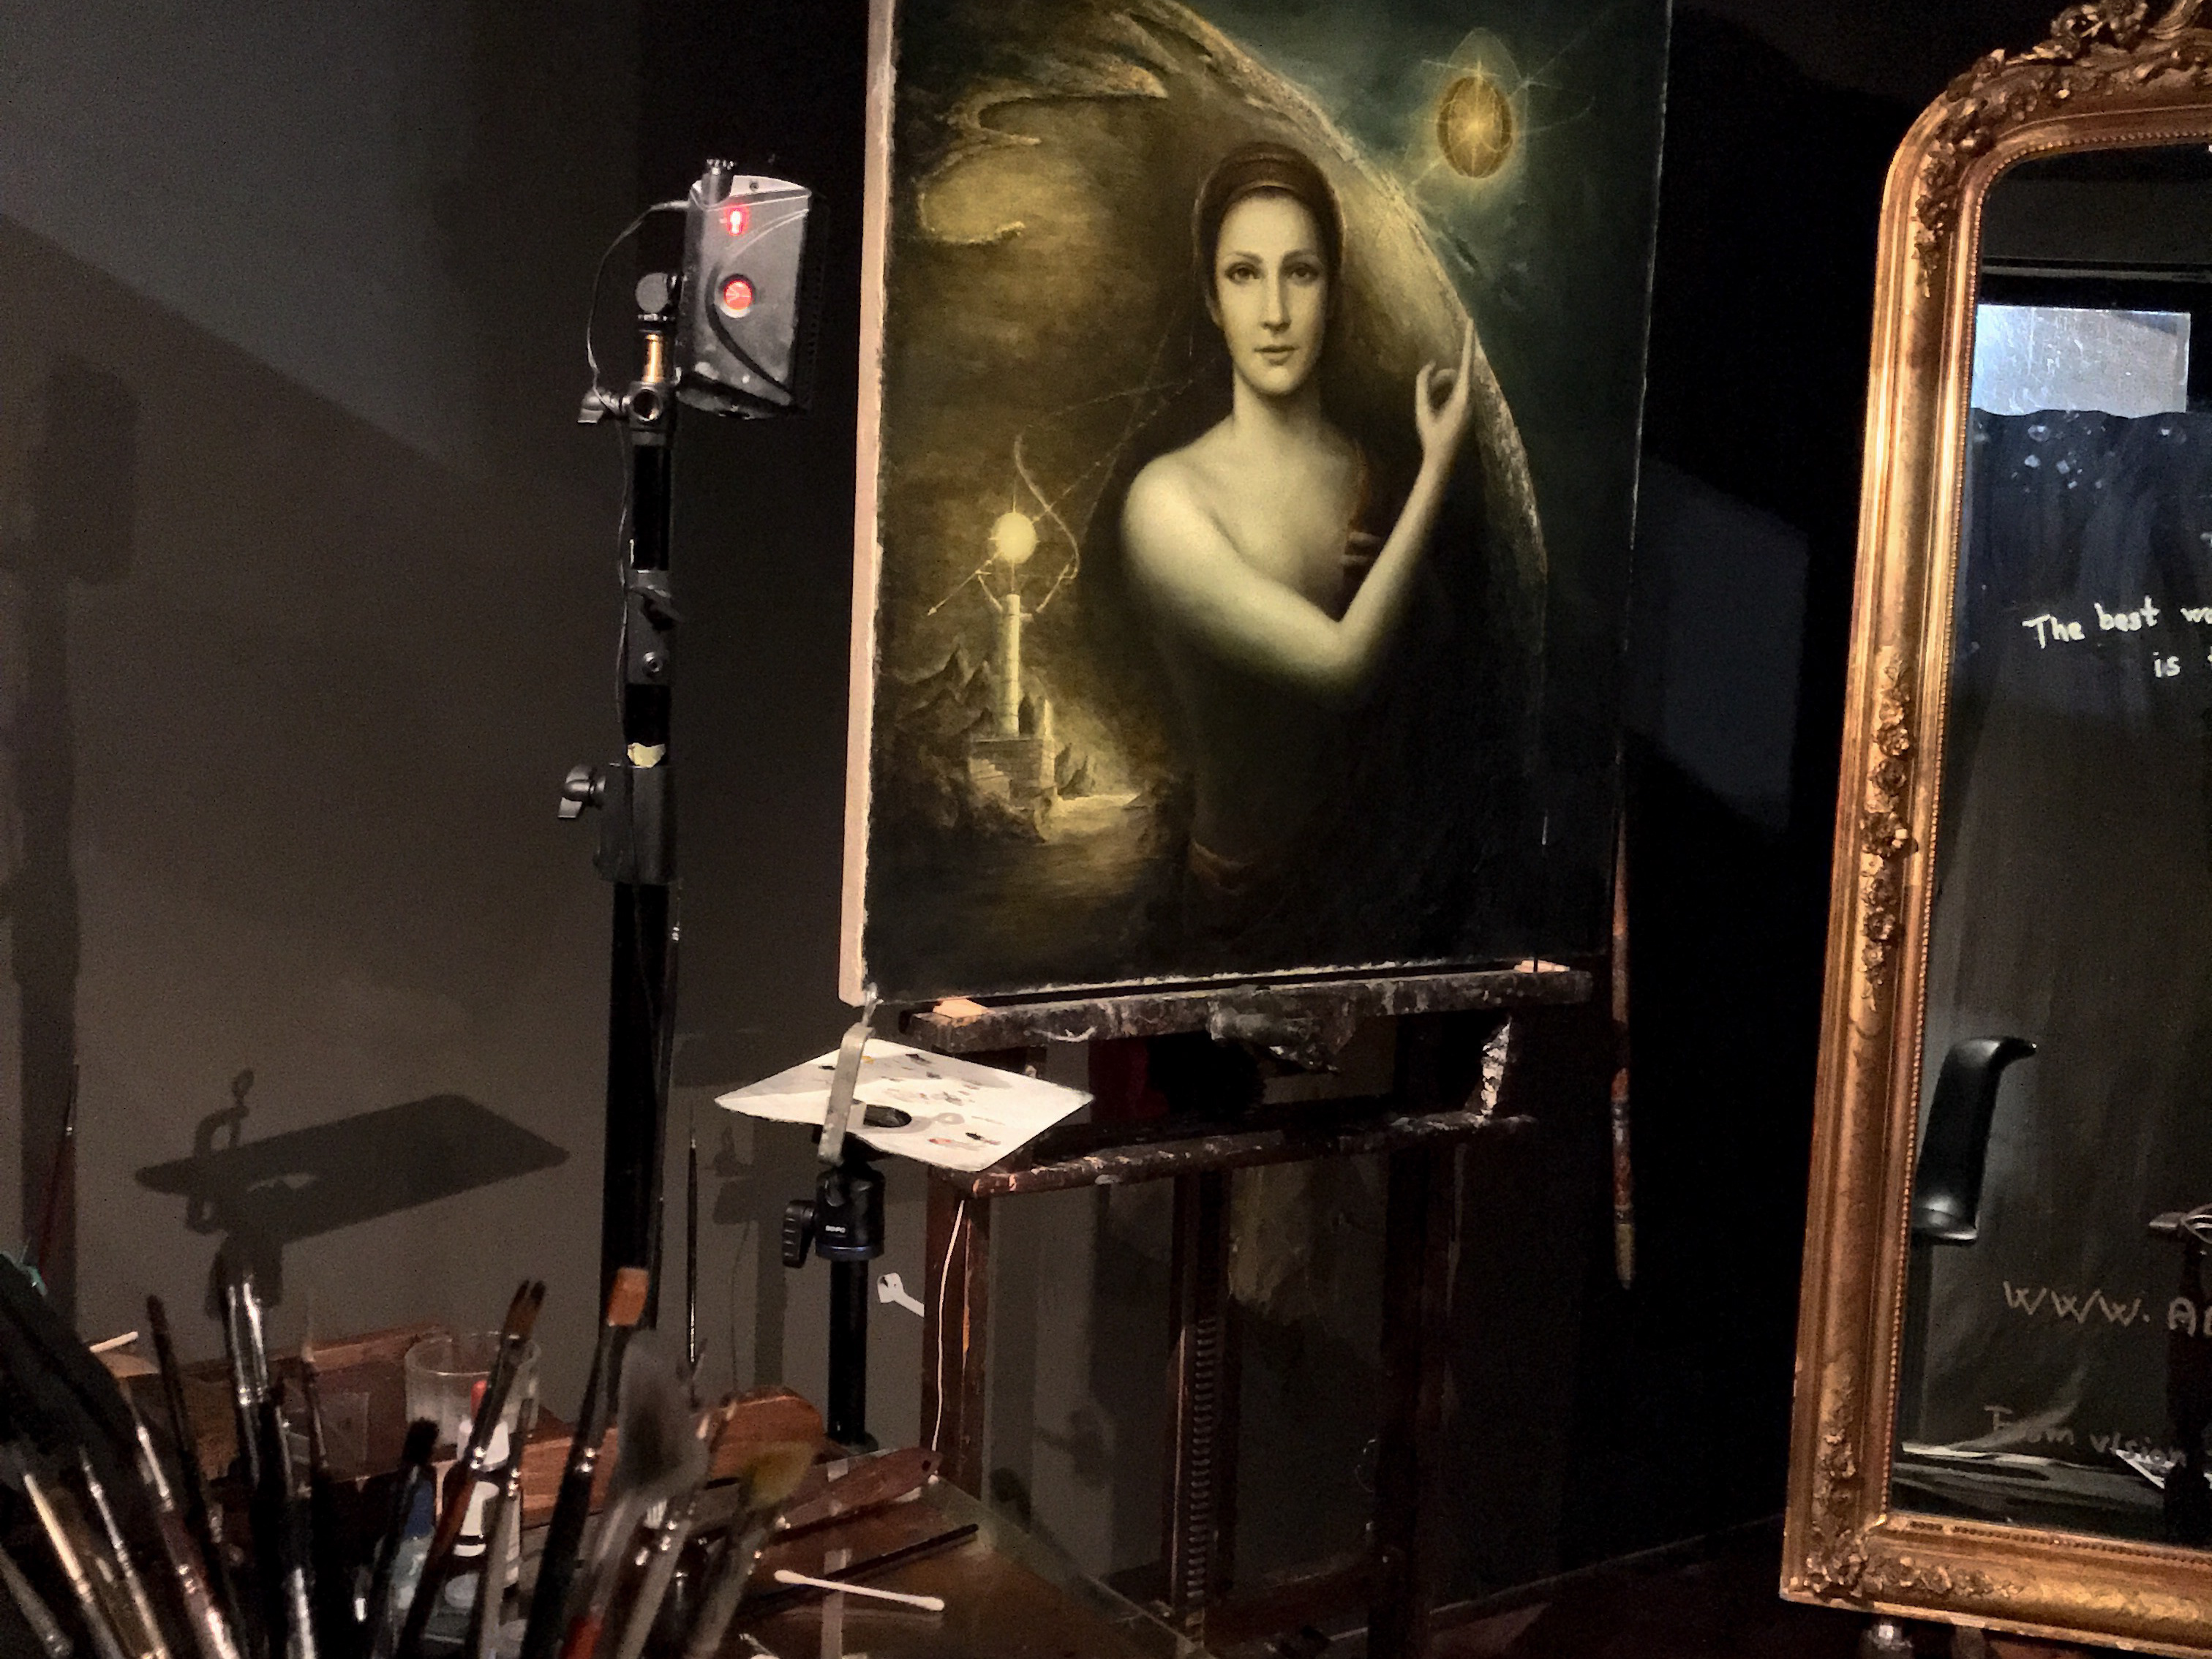
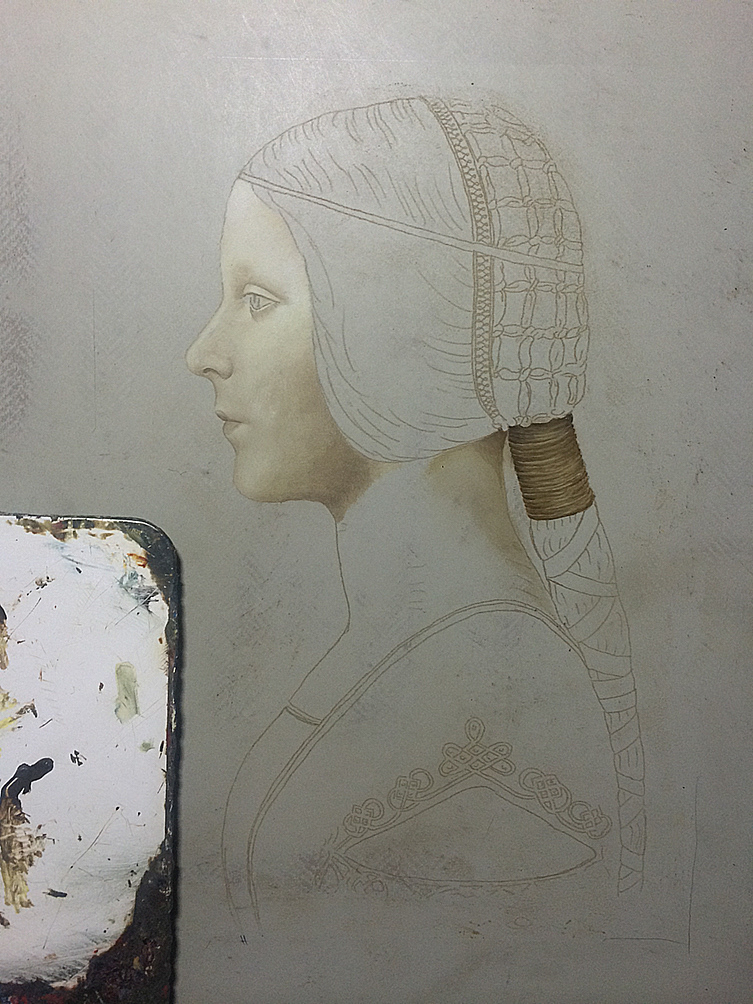
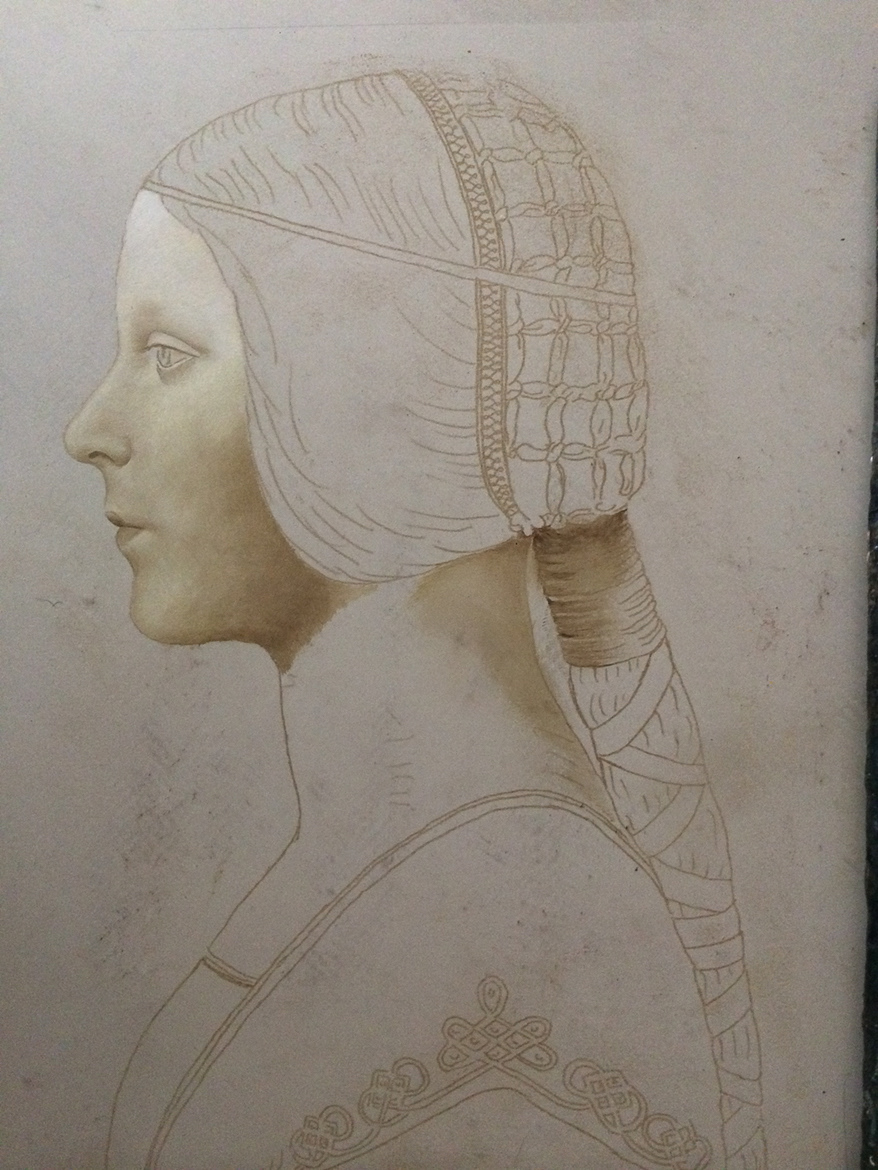
"La Bella Principessa"
After a drawing by Leonardo da Vinci.
Dead Color on third stage by Master Algrim.
Execution of Dead Color-Underpaint.
The second stage after underdrawing is a process called “dead-coloring”, also referred to as “underpainting”. Dead-coloring was one of the key techniques applied during the Renaissance and the pictorial strategy was used until the French Revolution. Without an adequate theoretical knowledge and mastery of this technique, you will not be able to achieve a satisfactory art-work. The technique is called dead-coloring due to the fact that only a few colors are applied at this stage (usually lead-white or lead thin yellow, raw umbra and maybe some boneblack in the final stage). Dead-coloring was so important that it was mandatory in the Flemish-school.
Dead-color technique is seldom used by artist today. This is perhaps because they don`t understand why they should use so mush time to paint with dead-color and then cover it with new paint. Today most of the artists paint directly on a white commercially-prepared and inexpensive canvas, with a full color palette, often without a plan or drawing on the canvas. As a result of that, they don`t understand why the function and the practice of underpainting/dead-coloring is comprehended.
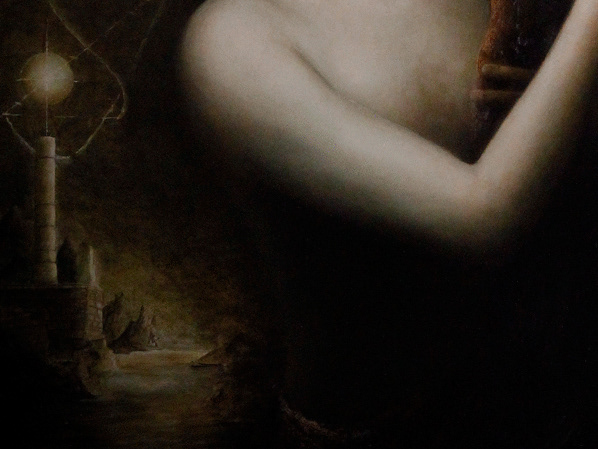
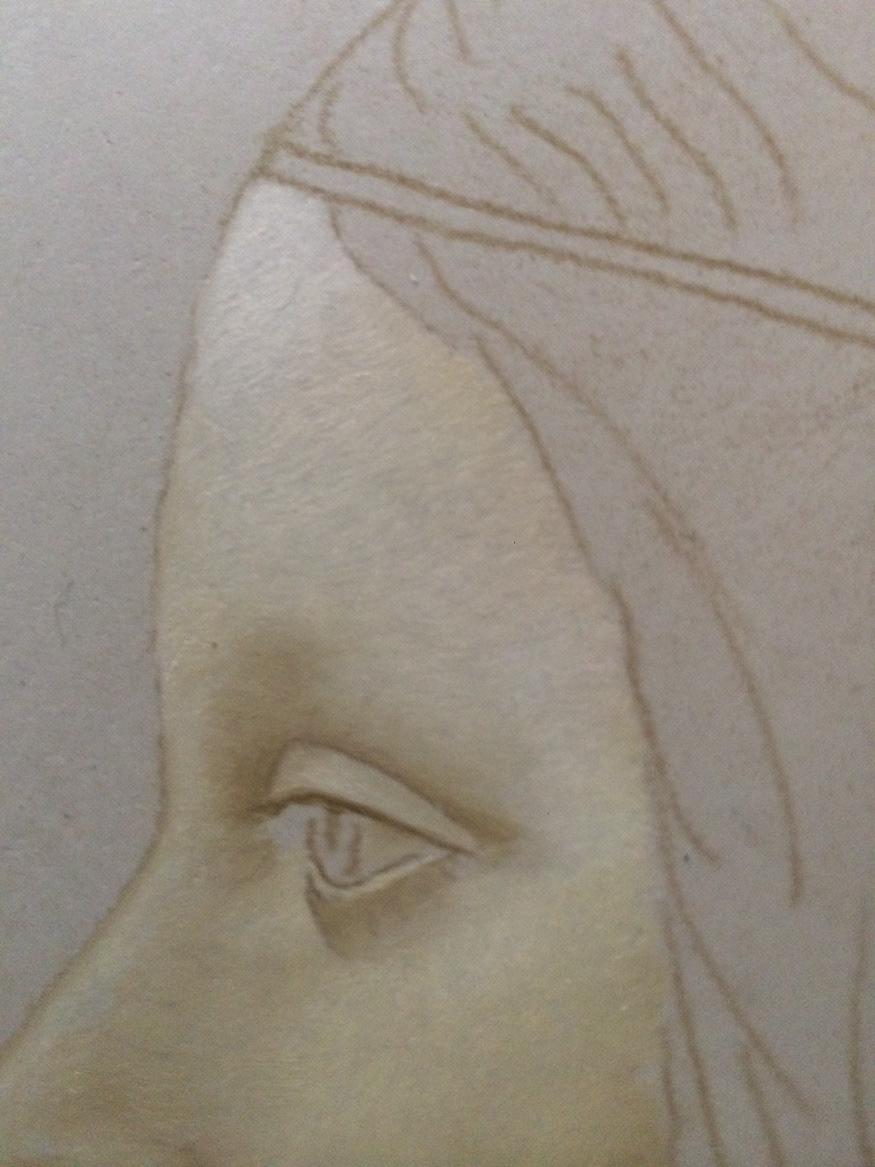
Dead-color technique is a kind of a monochrome version of the final painting. The advantage is that the artist can fully concentrate on the main compositional elements, details, volume, contrast, anatomy and create illuminations of dark and light. I recommend to execute the dead-color painting with a chiaroscuro effect. It was more or less common to “block out” areas with dull colors which anticipated the final colors. (This technique must not be confused with “hounding” which I will talk about later). Following this block-out method, each individual area will merge with the final color in a flat tint.
If the dead color technique is executed correctly, you will experience that this does not complicate the painting-process. You will also understand that it will save you a lot of time and frustration in the long run and a much better final result is obtainable. If you master the basic technique you will understand the logic in dead color underpainting.
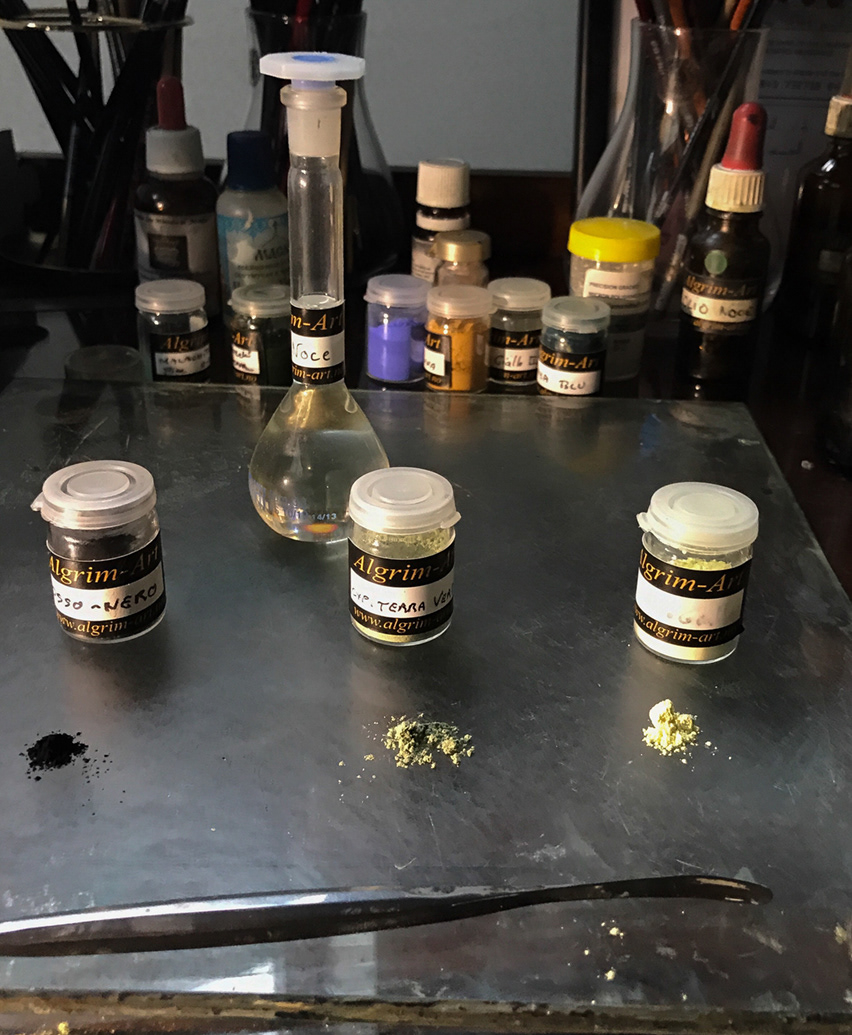
Bone black. Cyprus cold green earth. Lead tin yellow.
PAINT
How would a dead-color painting appear? In theory it would be pleasant to see a “finished” and correctly preformed dead-color painting and it would be fully possible to “communicate” with the artwork already on this stage. It would of course miss the entirety a finished work produces with it`s color, depth, final details and texture.
In theory you can use almost any earth-pigments for dead-color. But it is important that you find a “neutral” color that will communicate with the colors you plan to use in the next layer.
Raw Umbra is the most common pigment that has been used, which is recognized by a green-like tone. As with all other earth-pigments, the color and how the pigment behaves depends on where it is extracted since there are big varieties geographically.
The way the pigment is grinned and cleansed also determines how the pigment will be to work with. I recommend to buy quality pigments and not necessarily from the big and globalized producers as these may have profit and not always quality as their first priority. You should also keep in mind that there is an inevitable connection between quality and price. There are producers that have specialized in presenting high-quality nature-pigments for fine art use.
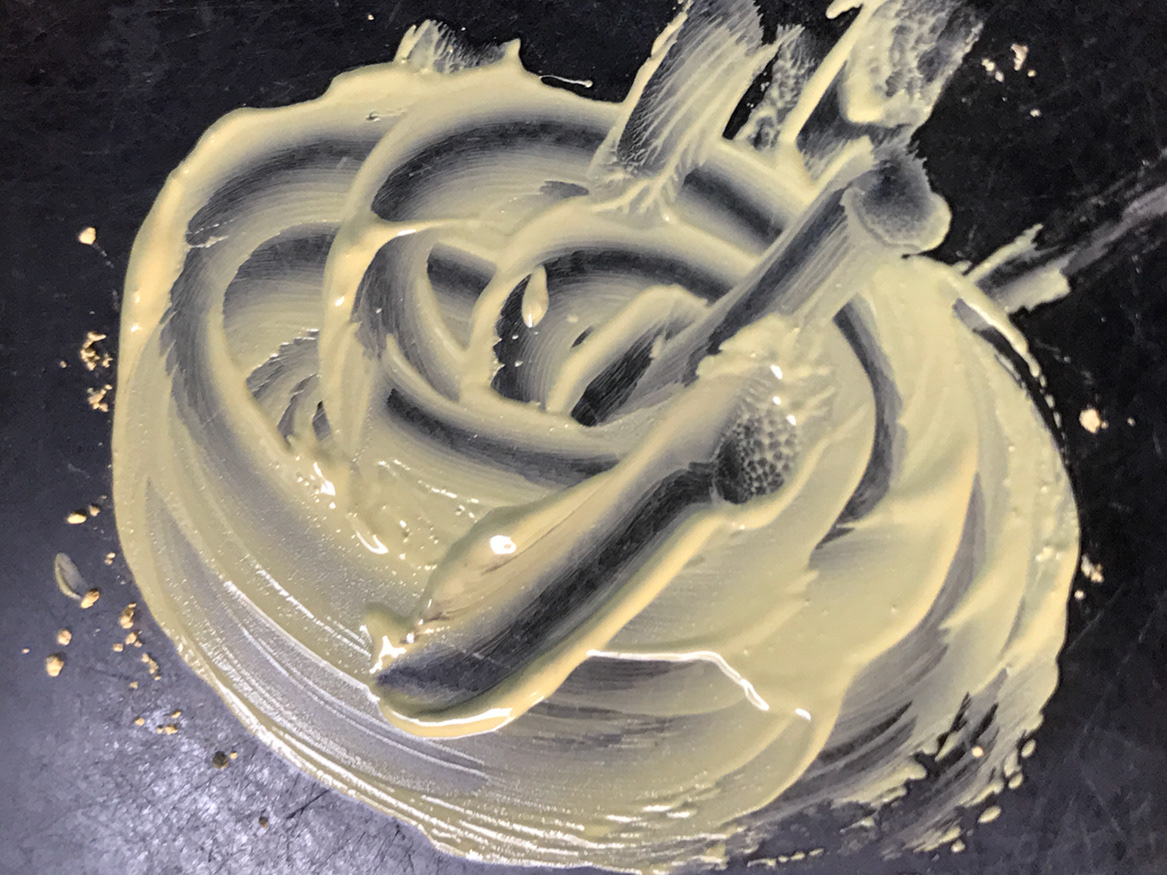
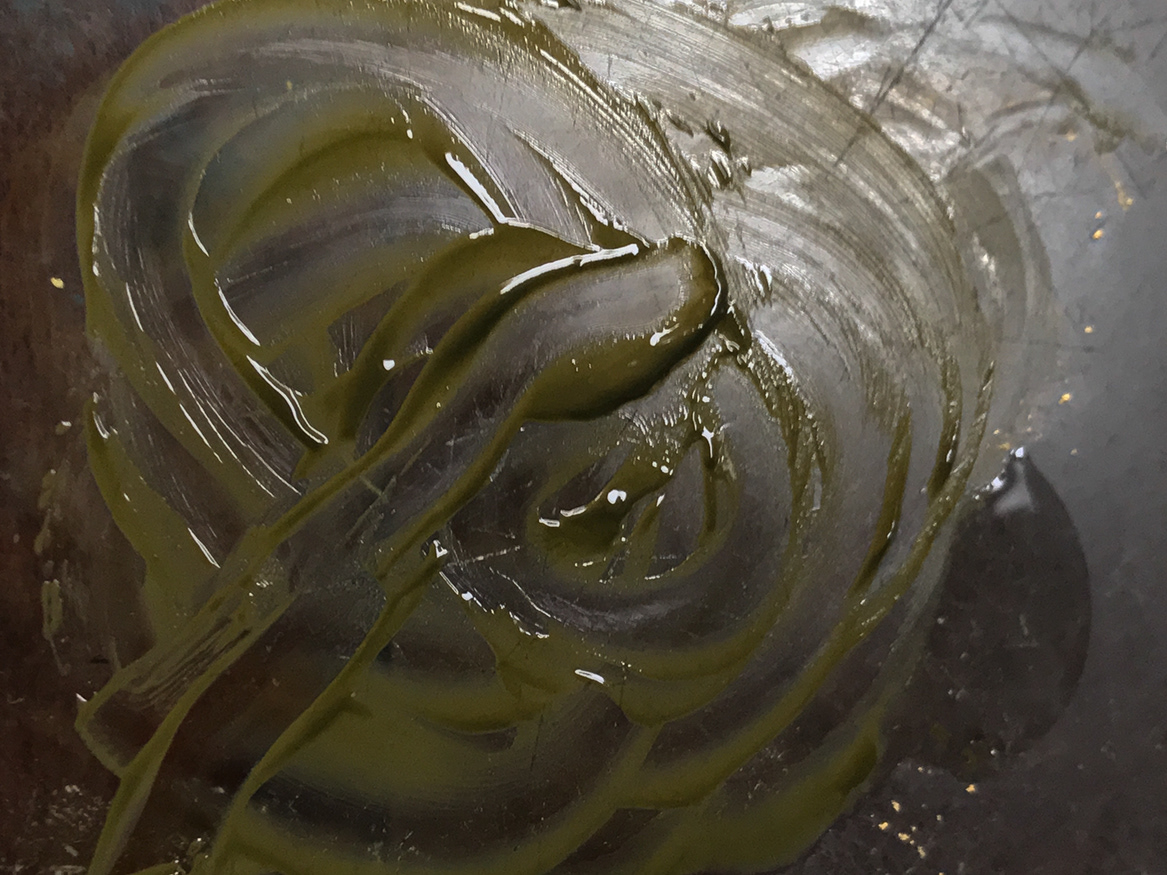
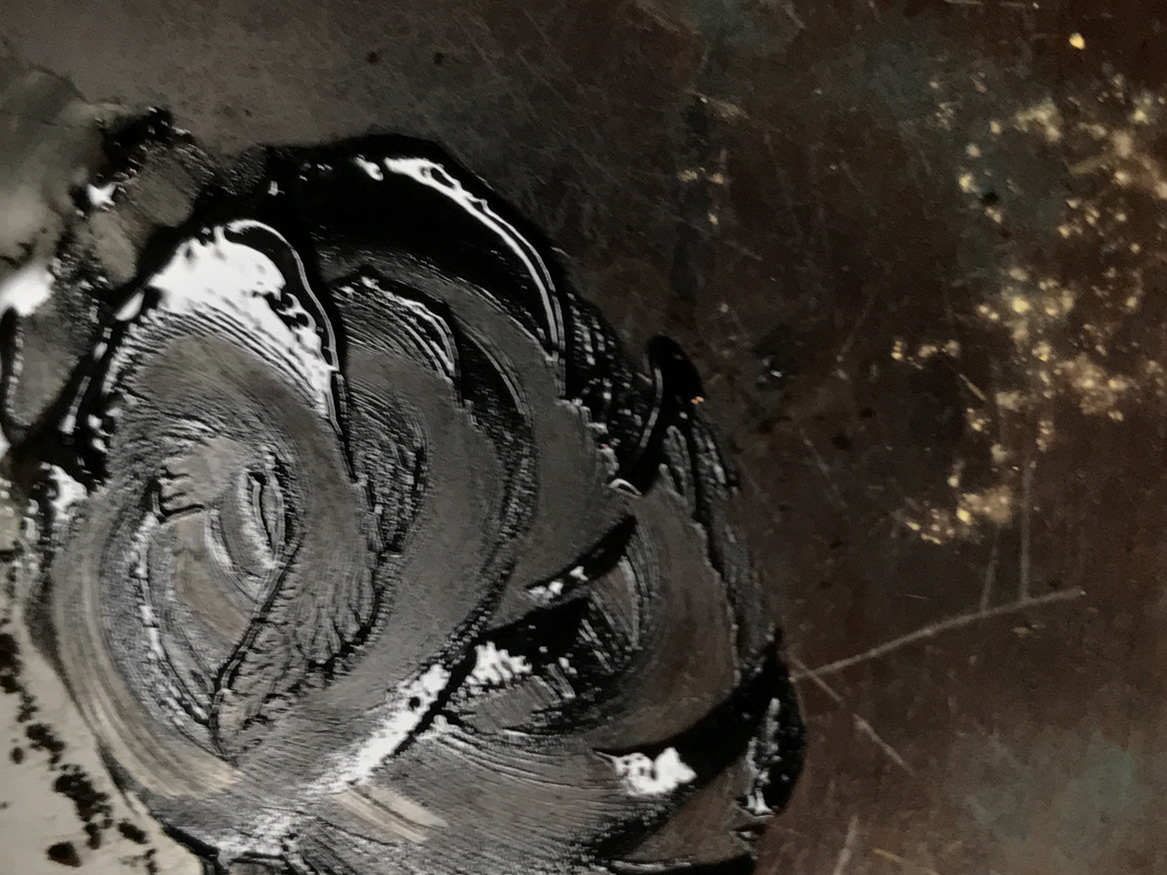
The dead-color pigment is grinned in the usual way with cleansed walnut-oil (go to cleansing of oil) with a grinder on a toughened glass-surface (go to painting). The medium to the dead-color painting has to be “thin” and can rationally be mixed with one part oil and tree parts solvent such as turpentine or lavendel. It is hard to describe the correct texture and “flow” of the dead-color painting, but the darker parts of the painting should be laid with “mezzapasta” which means half-pasta in Italian.
The preparation of the canvas has to be neutral and correctly executed. This means that the preparation is stable and at the same time flexible for corresponding with the canvas. It has to be matte, free of dust an absorbing so that the underpainting can attach to the preparation, fat on lean. (go to preparation of canvas).
_______________________________________
PURYFING OIL
Why purifying the oil? For example, Azurite has a bad reputation to turn black or greenish. The truth is that this pigment (Azurite) is extraordinary permanent. If it is clean, it doesn`t change color after been exposed from sulfur gases or acid from oils like many would think. A painting which is not correctly executed will be discolored because of polluted pigments or wrong binders. Not correctly prepared drying oil will change color when it mixes with pigments. The discoloration is in the binder/oil and not in the pigment (if it is clean and from a high quality supplier). Some drying oils can be discolored (not by yellowing, but changing to black or greenish). It is extremely important to use completely clean pigments and correctly purified oil. Walnut oil which is purified as followed will not be discolored. Residues and “pollution” means that the oil may become discolored (yellowing) when it dries. Crude oil may also result in that the oil and some pigments react in an undesirable manner. These reactions or discoloration are usually very marginal, but can also result in big problems. I highly recommend that you buy oil and pigments from suppliers who sell products of the best quality. It costs a bit more, but this knowledge will help you to avoid small or large changes and problems when you paint. The purified oil is recommended for use in bright colors and when you grind mineral pigments. The cleaning process will also show how good or bad the oil is. You’ll find that quality oil has much less “pollution” than bad and cheap oil. This process will also minimize the yellowing of the oil. The separation process of 200ml oil will take about two weeks.
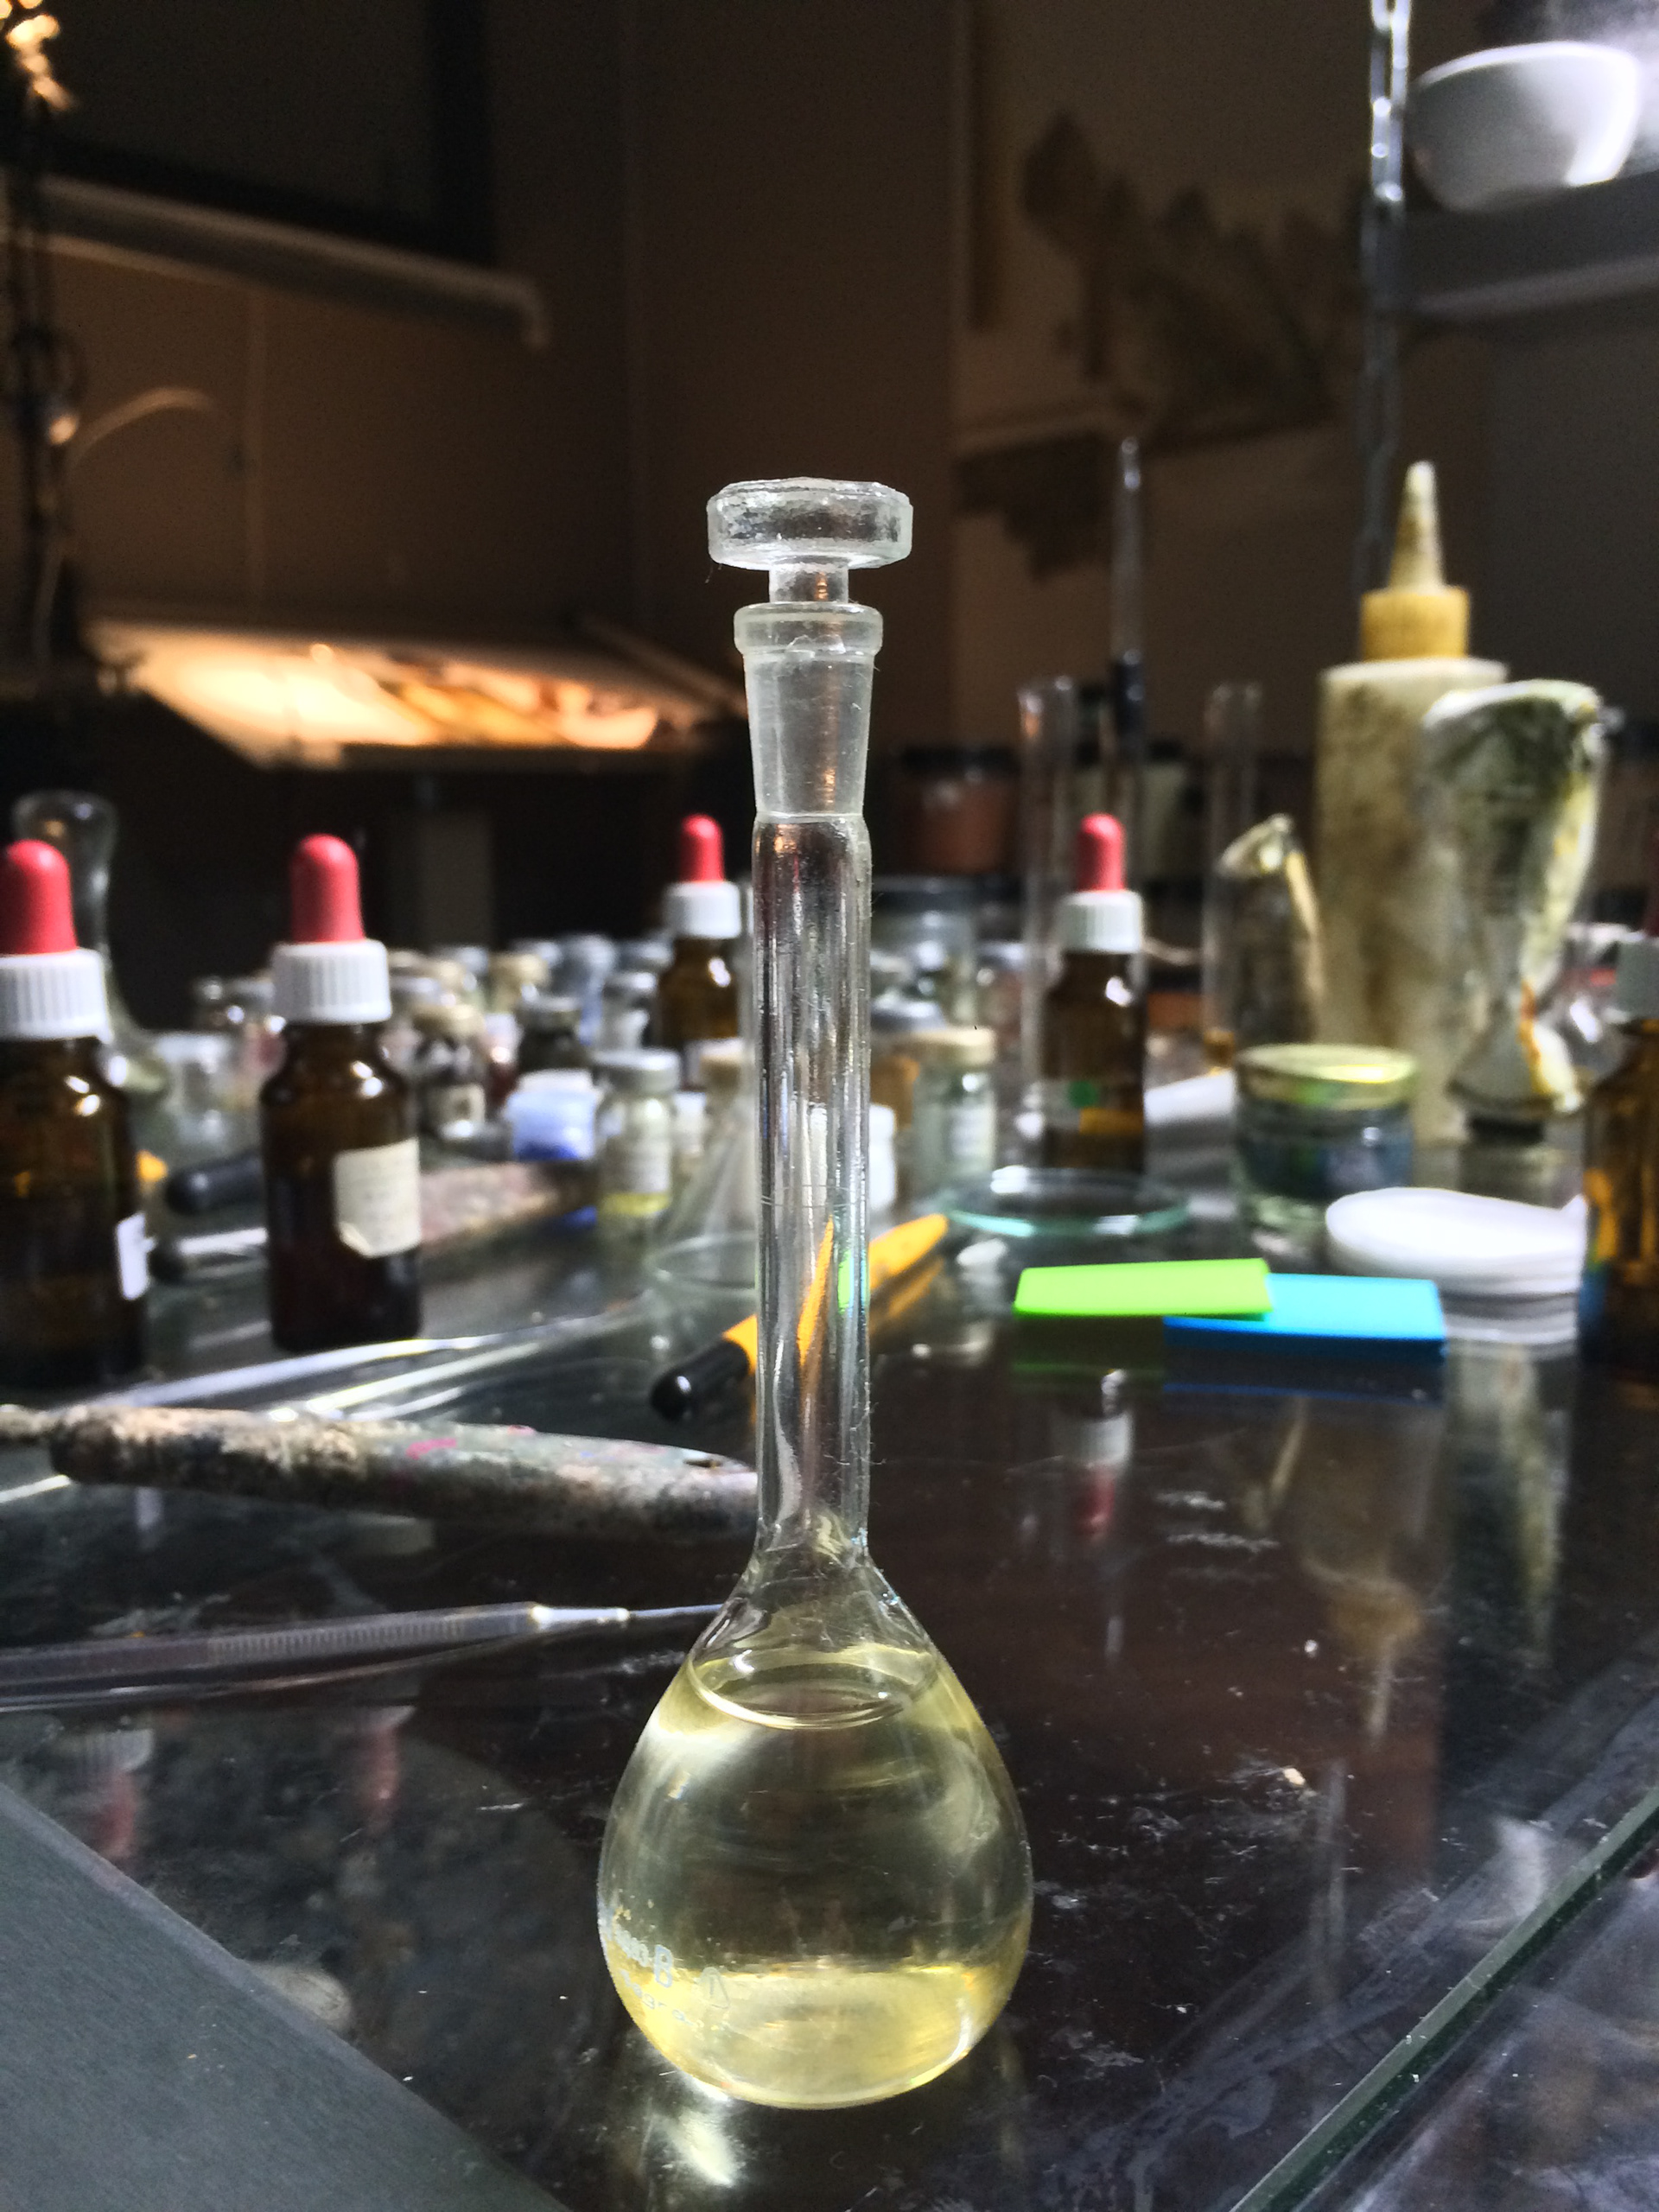
Purified Walnut Oil.
1
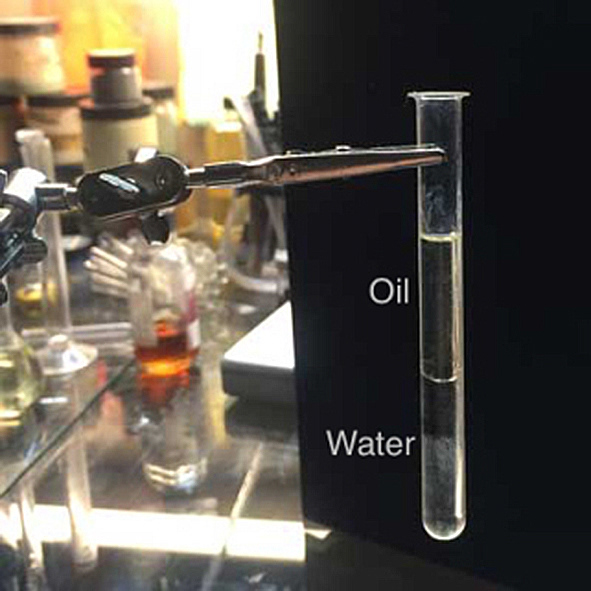
Pour a half part distilled water in a completely clean bottle or test tube.
Pour an equal share of walnut oil and make sure you don`t fill the test tube completely.
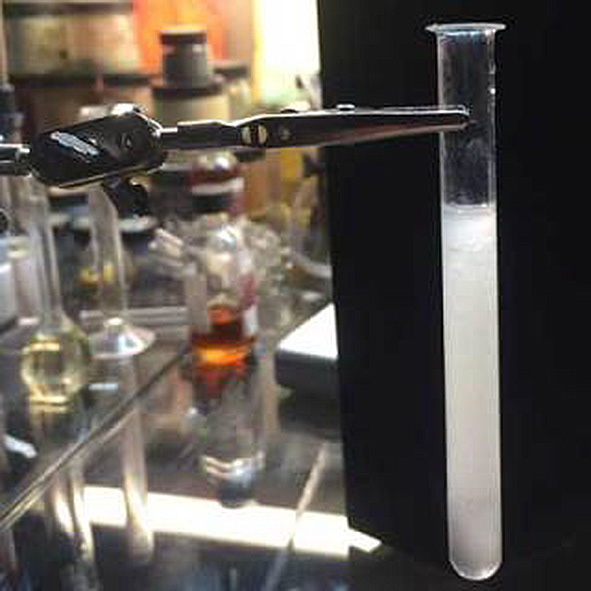
2
Put on a tight lid or hold your finger over the spout and shake the mixture for a few
minutes until it turns milky white. Leave it fore one to two weeks with the lid
loosely on until the oil and water are separated.
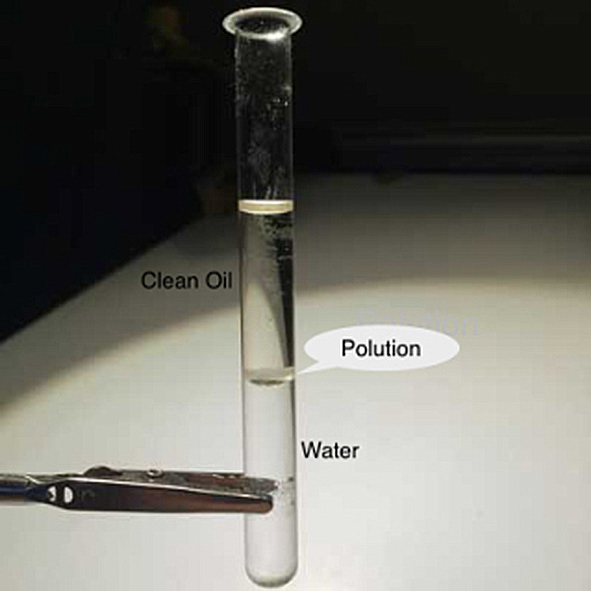
3
Use a pipette to soak up the purified oil and make sure you not get the remains located between
the oil and water. Repeat the process if you want an even cleaner oil (Recommended).
Pour the neutralised and purified oil in a clean bottle after the separation.